How To Install Silicone Coating over an EPDM Rubber Roof
How To Install Silicone Coating over an EPDM Rubber Roof
October 2, 2018 | Flat roof, Roof coating, Roofing Process, Roofing Technology
The time has come to do something about that leaky flat roof. Should you replace it completely or just perform maintenance? A local roofer can help you make the right decision and even take care of the work for you.
A rubber roof is often the best idea for flat roofs because the EPDM coating acts as a sealant against moisture and debris. The process of installing a EPDM rubber flat roof is actually pretty straightforward -- and we're going to walk you through it step by step.
Materials used on a 12.5 sq or 1250 sq ft section of rubber roof:
2.5 gal of epoxy mix A
2.5 gal of epoxy B mixed with 64 oz water as we noted above.
Stirring drill and/or manual stirrer
What is a rubber roof?
Flat roofs have their own unique process due to their tendency to hold water in what are known as "ponding areas."
Because water and debris can accumulate on flat roofs in ways it cannot on pitched roofs, what's called a rubber roof is used - built with EPDM rubber flat roofing material.
We're going to walk you through the process of installing a rubber roof. As you scan through, note if the photos show anything similar to what you have noticed on your current roof, or what you'd like to see done with future maintenance.
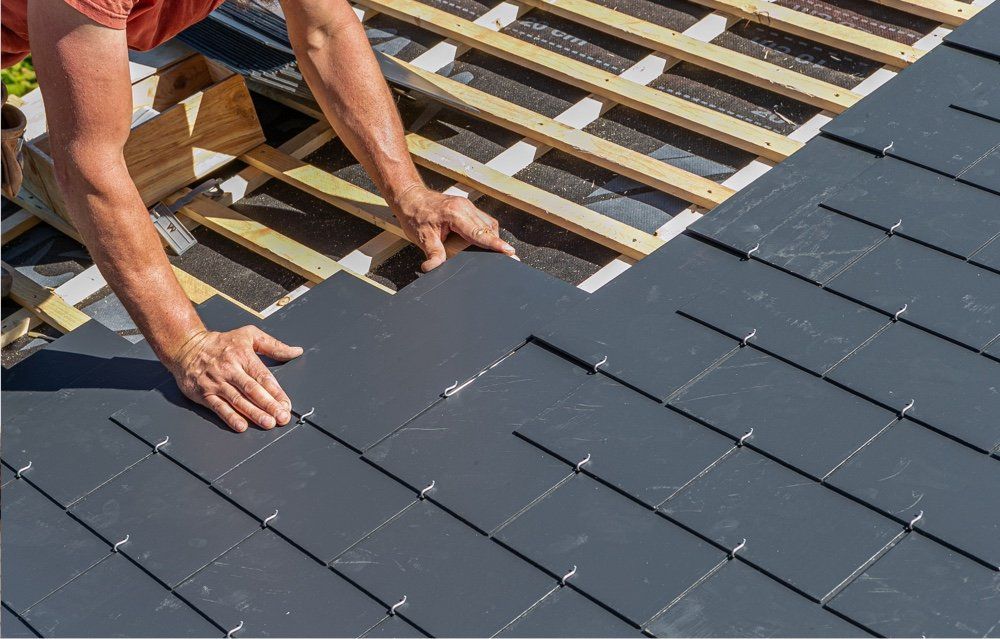
Installing the rubber roof using EPDM rubber flat roofing material
With the roof used in our example here, the EPDM rubber was in good condition and not leaking. So to ensure that the roof doesn’t leak in the next 3-5 years, we decided to maintain the roof instead of replace it. This offers three primary benefits for the building owner:
- It reduces the environmental impact of their roof by keeping material out of the landfill, instead optimizing what is already in use.
- It prevents further damage from occurring.
- It saves them money on both the current process and any small maintenance done in the future.
We coated and embedded fabric on the seams, scuppers, ponding areas, crickets, and problem areas. In 3-5 years we will go back and clean, prep, and coat the rest of the roof with KM 220 silicone mixed with the km 40-40 micor fiber.
We use silicone on flat roofs in the Denver market because it’s oil based. If we use water based acrylic, any ponding areas, or where standing water might accumulate, the roof would eventually dilute the acrylic coating and cause the system to fail.
Step for coating process
- Look the entire roof over for holes in the EPDM membrane. Look very closely because all the holes in the membrane must be sealed before washing the roof. If too much water gets under the EPDM membrane during cleaning it could compromise the entire coating system.
- Scour, clean, and prep areas with holes in the membrane.
- Roll out the EPDM glue primer and apply the EPDM patch, as below
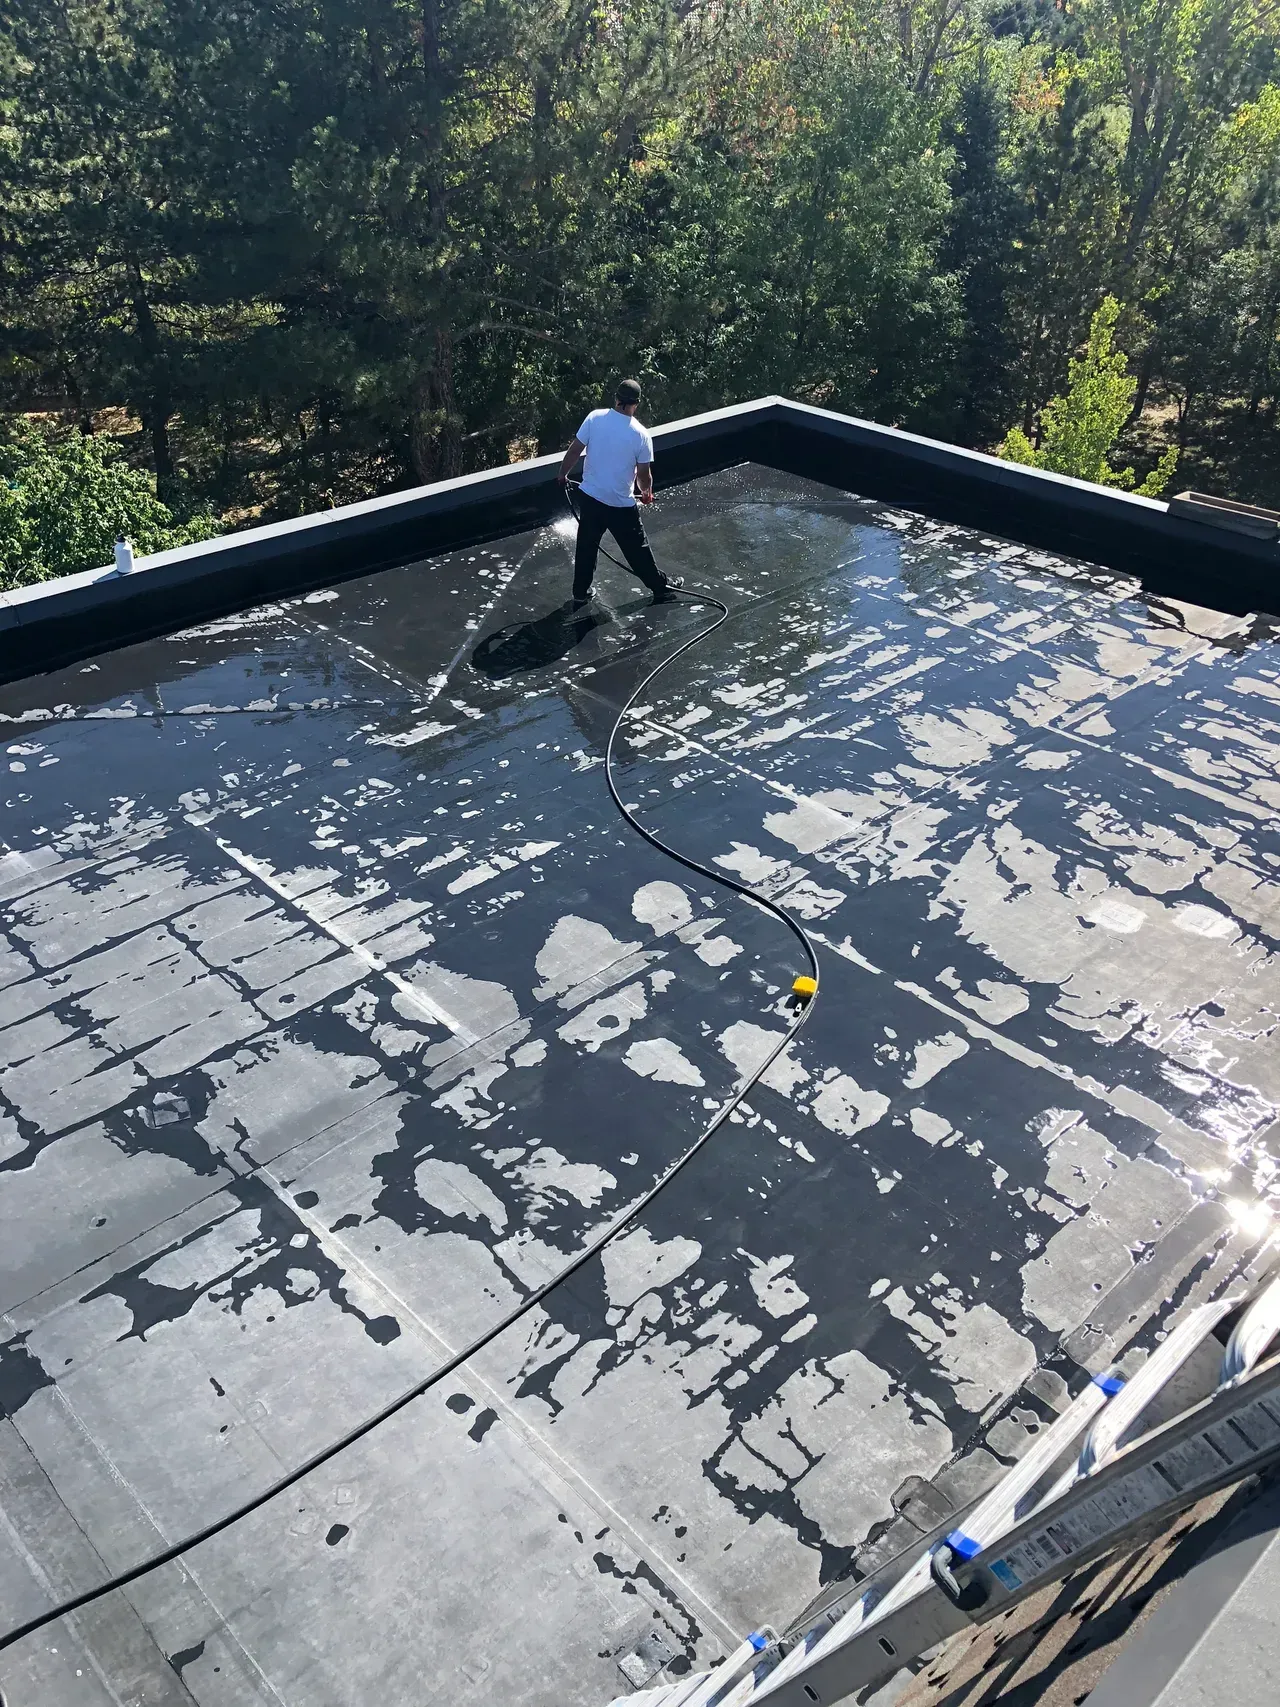
- Spray any areas with dirt and debris with a hose on high pressure. If you have a power washer, you can also use that -- just keep it on a low psi setting.
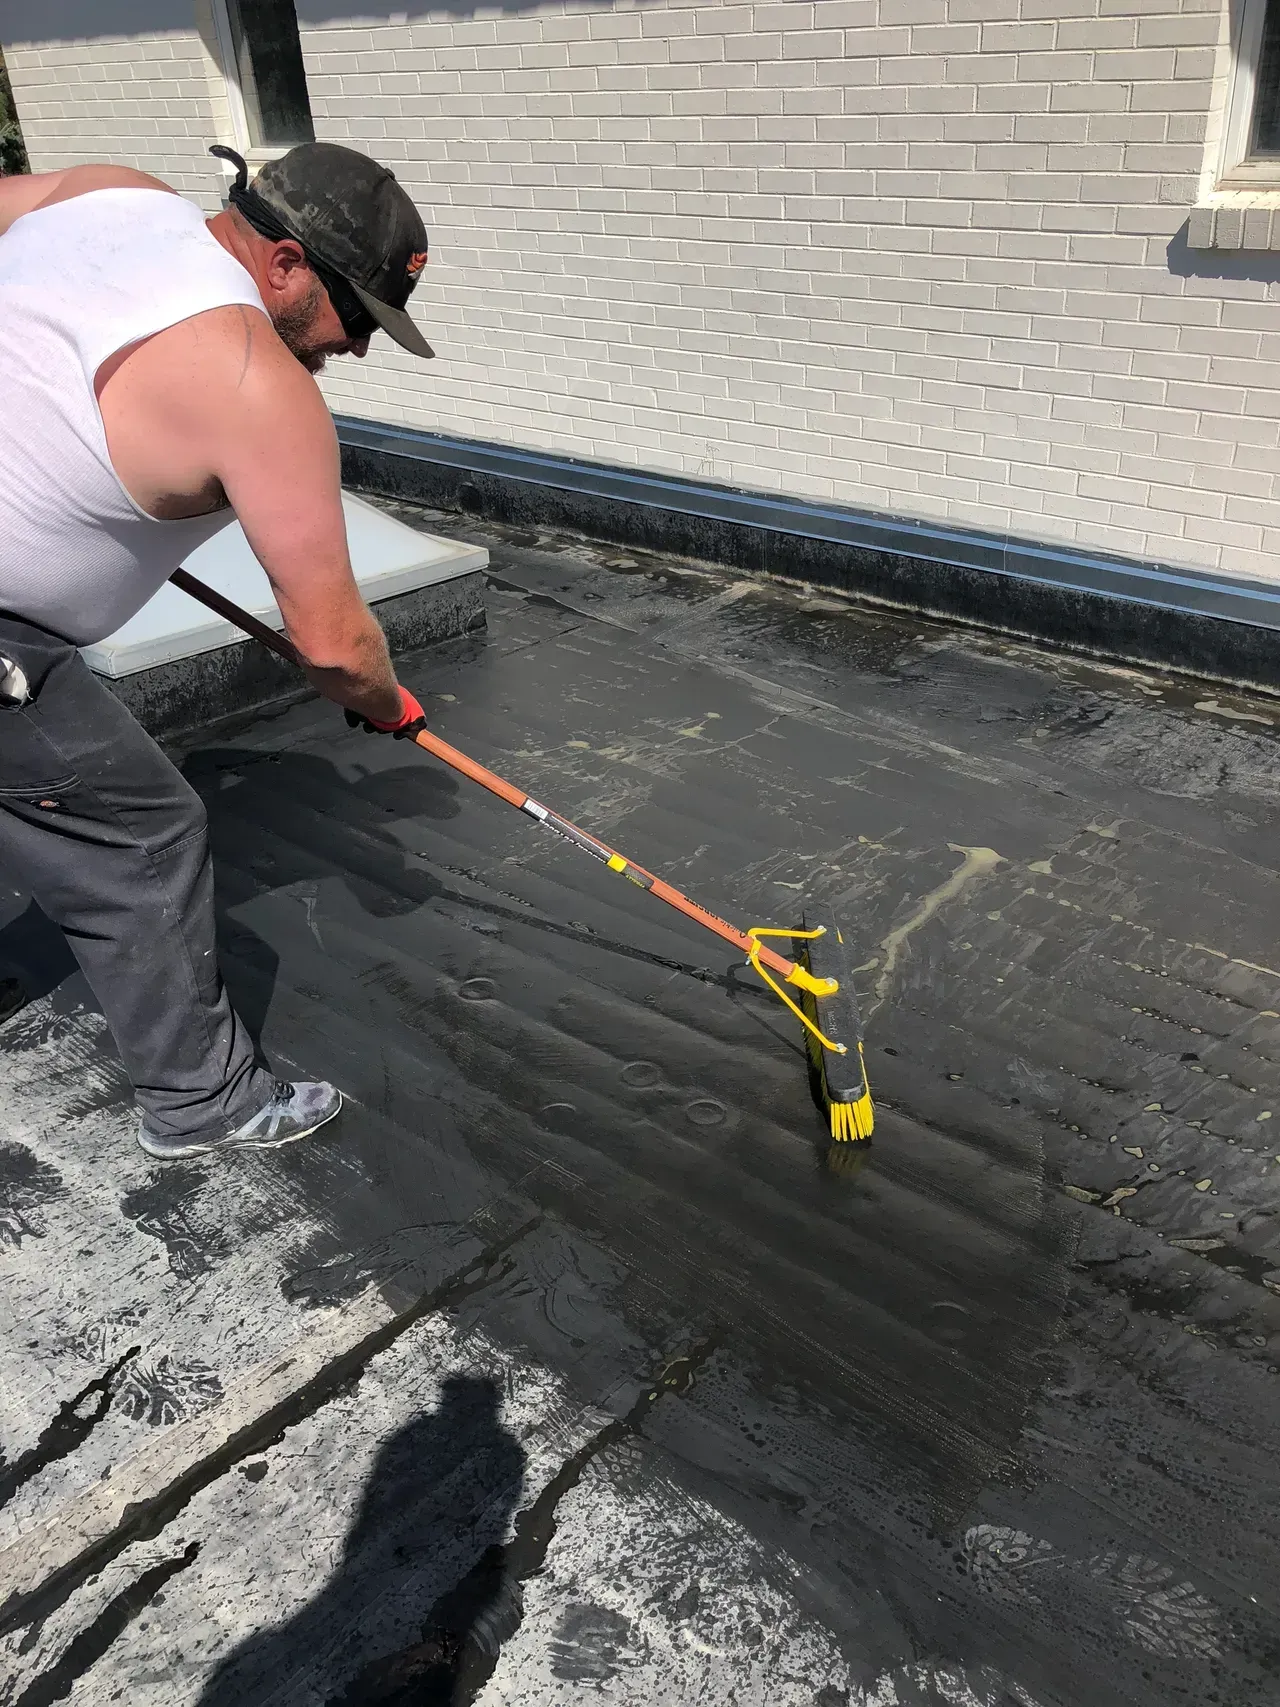
- Use a scrub brush to loosen any dirt and debris on the rubber roof, and rinse off the roof with the hose or power washer.
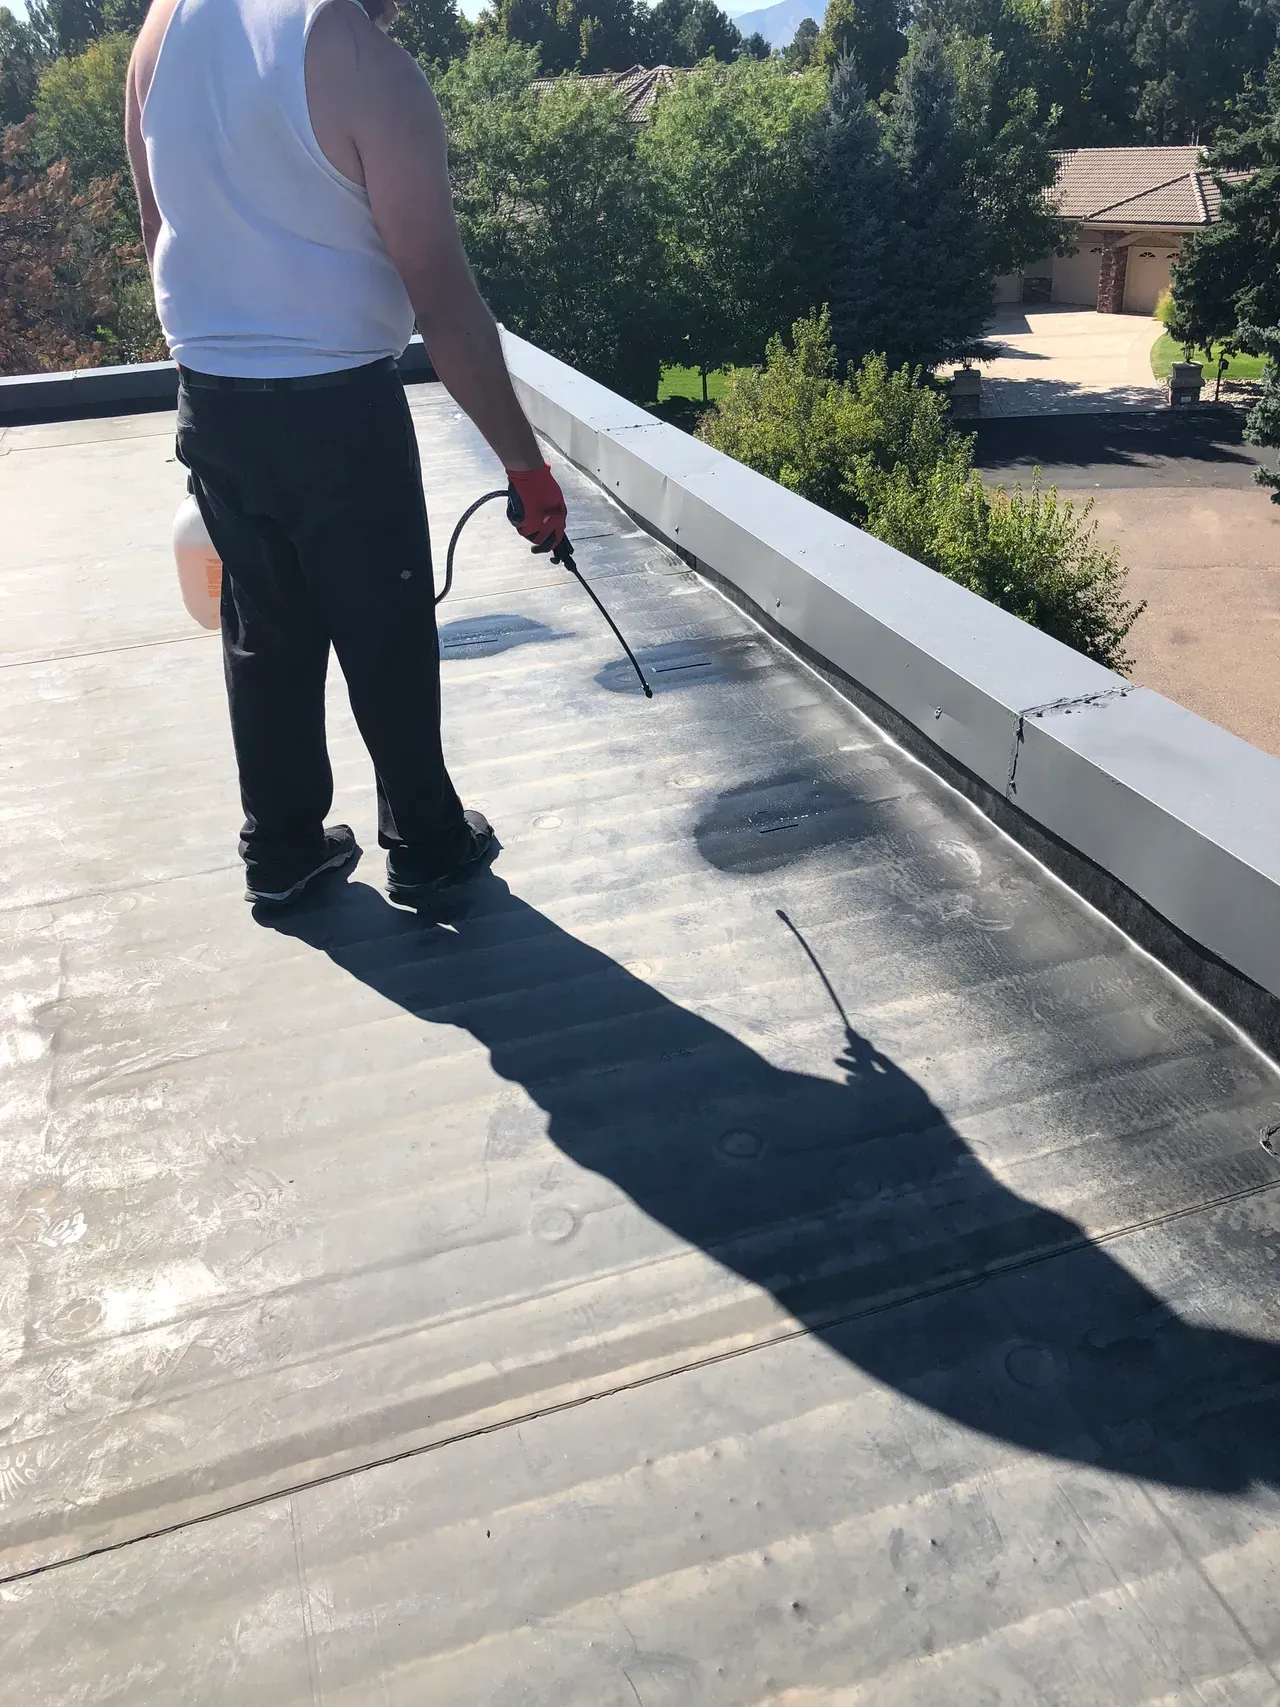
- Once you have removed most of the loose dirt and debris, use a garden weed sprayer to spray KM rinseable EPDM primer onto the areas being worked on.
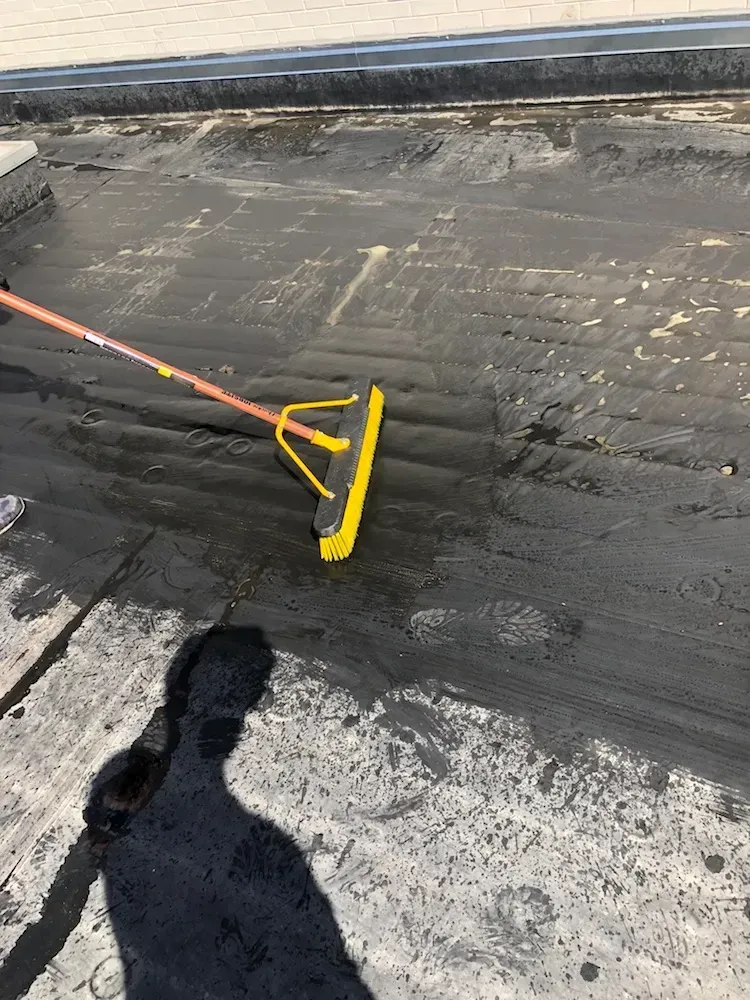
- Once again, use a scrub brush to loosen dirt and debris on the area being worked on.
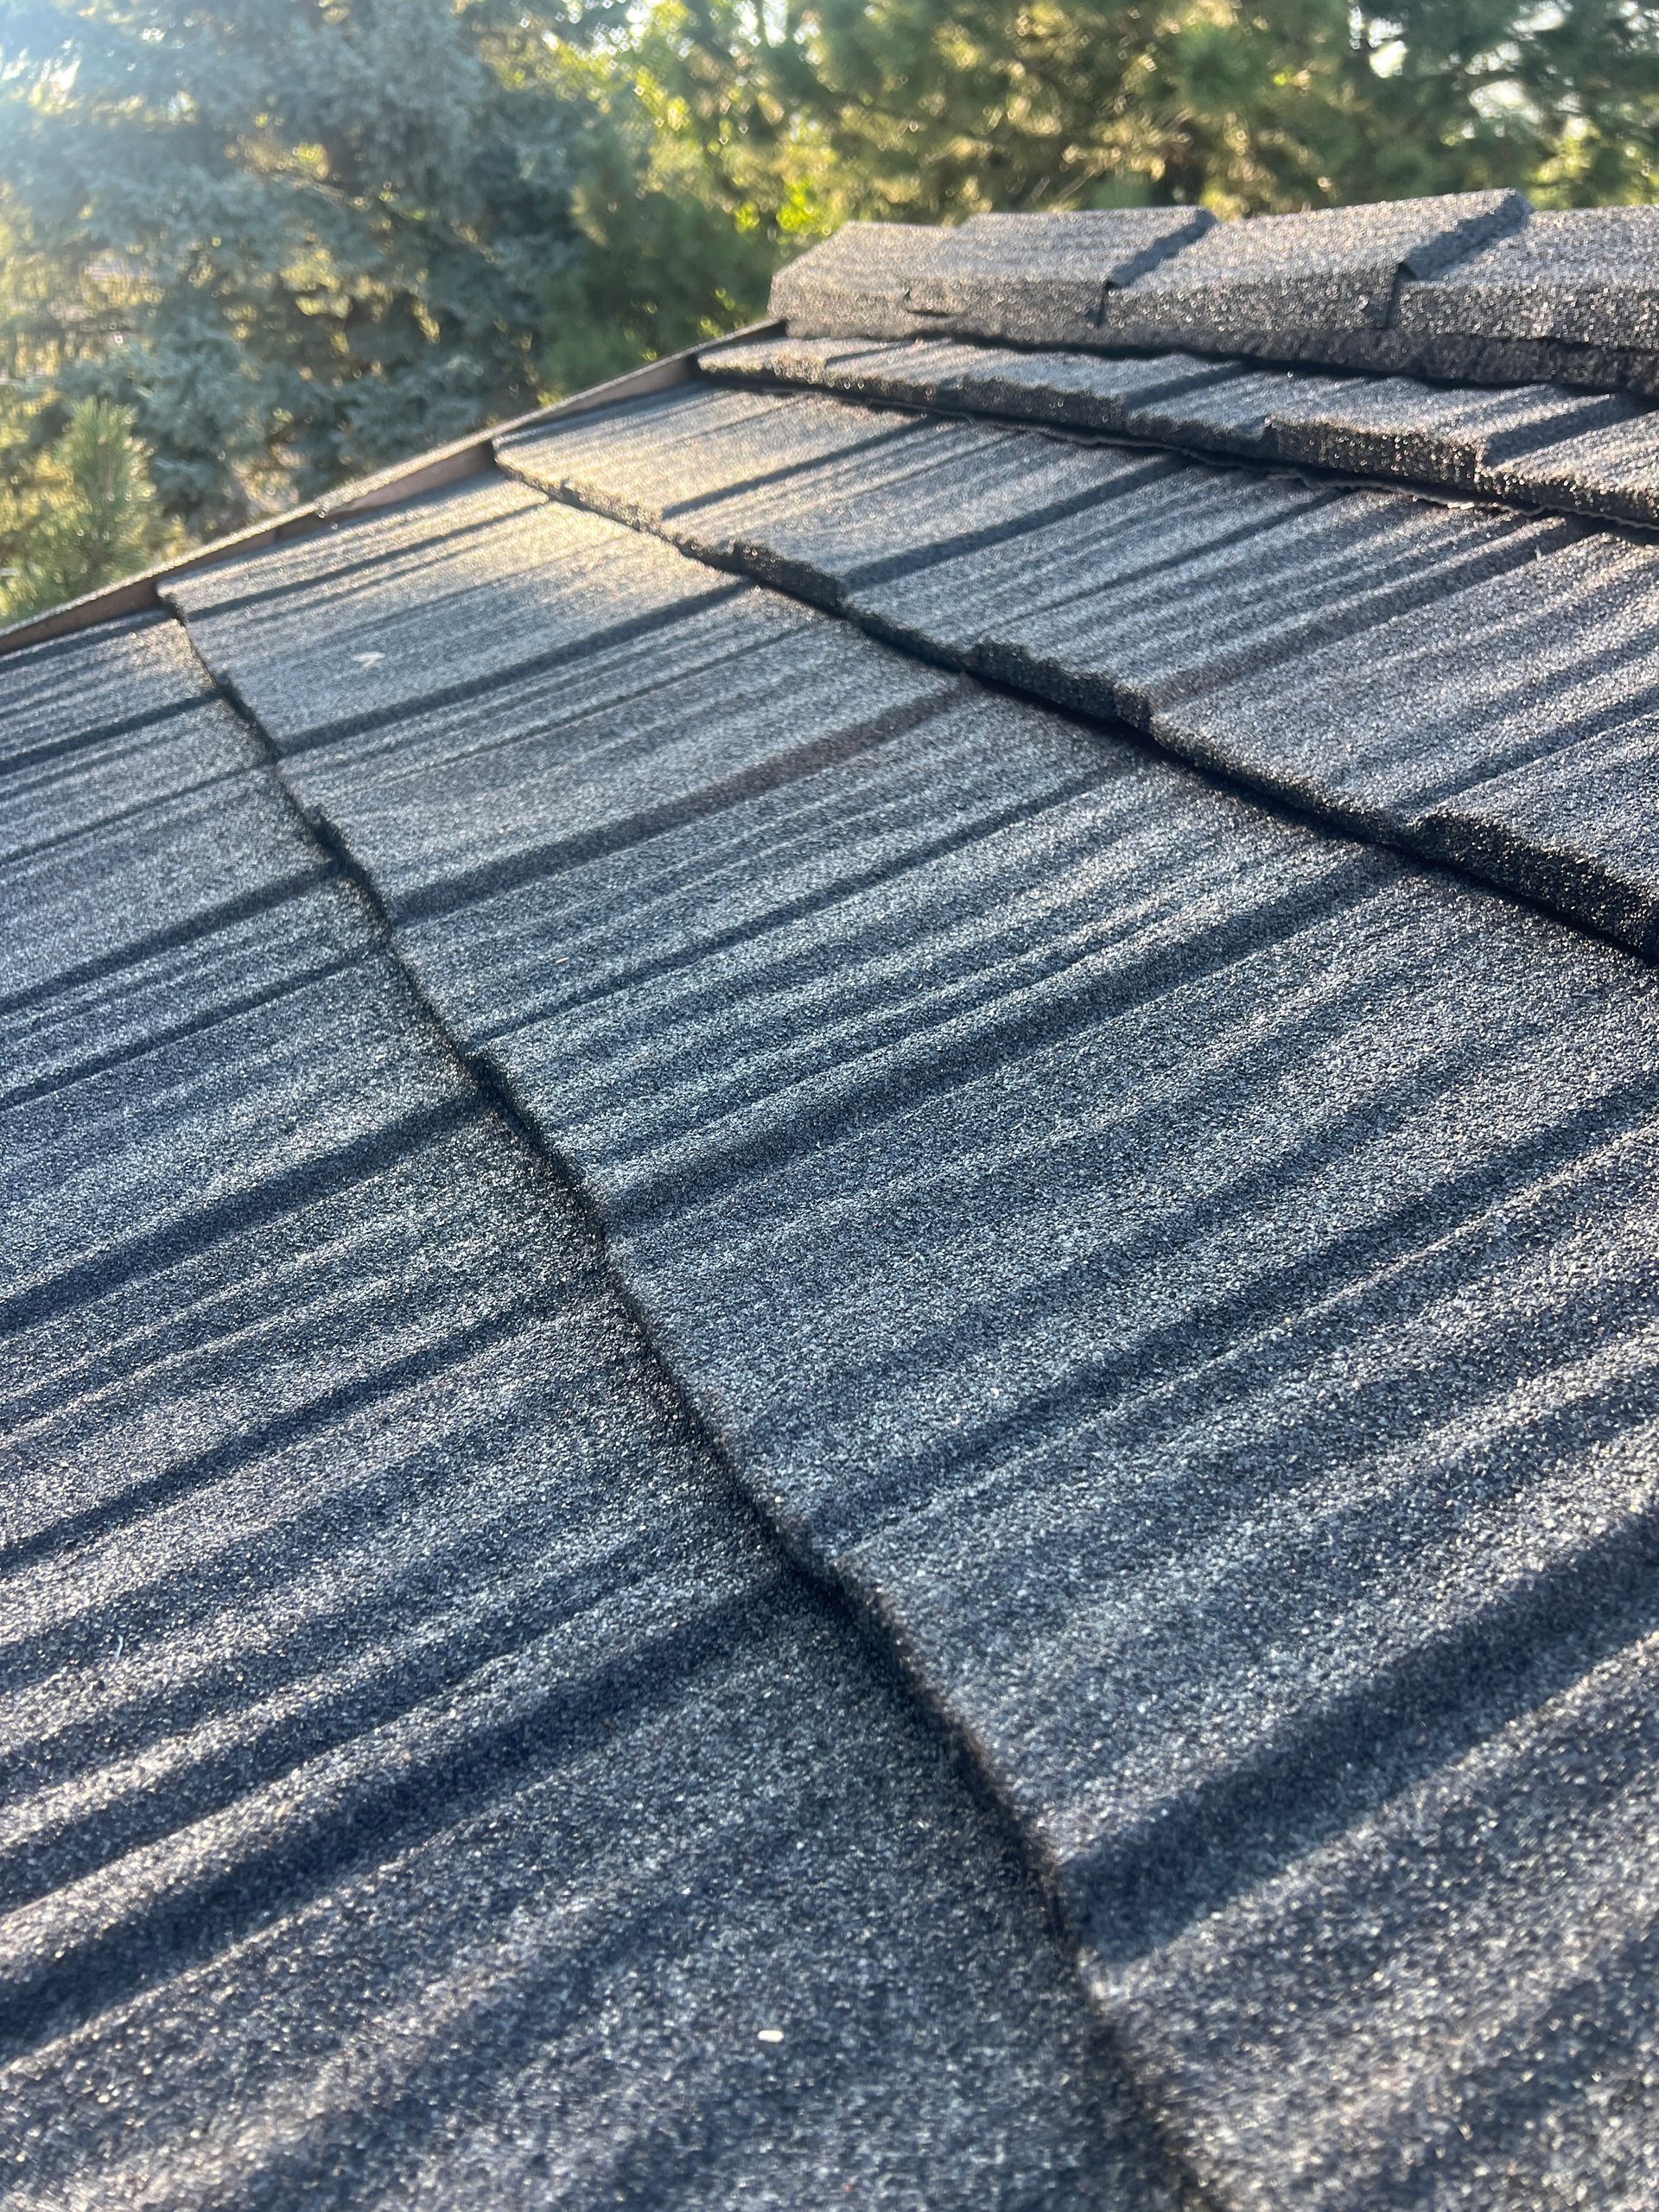
- Another round of power washing and hosing off follows the scrubbing. By this point, the area being worked on should begin to look cohesive:
- All dirt and debris should be removed from the rubber roof at this point. The EPDM should look brand new with no chalky debris scattered around the surface:
- It's time to mix the epoxy! Here is our formula for mixing epoxy:
- Open up 2.5 gal of epoxy mix A and use a drill to stir it a bit to loosen it up.
- If the mix is too thick to use a drill, you may need to stir by hand using a manual stirrer.
- 2.5 gal of epoxy B mixed with 64 oz water. The recipe only calls for 32 oz of water -- but the hotter the temperature of epoxy B in the sun means it will get even thicker quickly and more water may need to be added. Take a look at this video and pictures below to get a feel for what we're talking about. We had about a half gallon left but, could have used it in other places. You can gauge this based on factors like weather, location, and situation -- but we recommend using extra water.
- Mix Part A with watered down Part B using the drill until the dark gray and white combine to make a light gray.
11. Once the epoxy is fully set, it's time to apply the primer to the roof
- You can apply the epoxy primer with a roller, pressure sprayer, or something similar. Be sure that the epoxy is thoroughly set first, otherwise the finished product won't congeal correctly -- you may have to wait up to three hours after for this to happen.